Top 20 Basic Kali Linux Commands.
Kali Linux is an open source operating system developed by Offensive Security . It contains a bunch of security tools divided by categories for Penetration Testing or Ethical Hacking in a practical environment to test the reliability and security of the systems in the unusual situations.
(This articles are copy from - https://www.yeahhub.com)
1. "Date" Command –
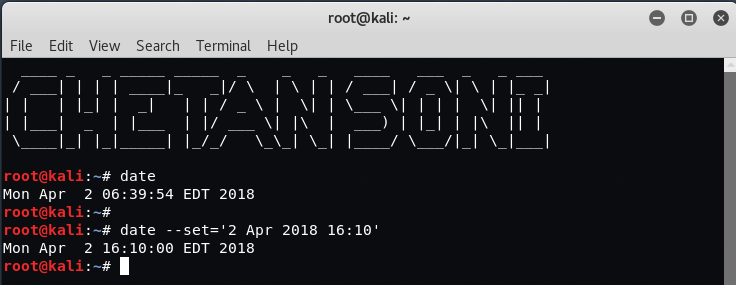
This command is generally used to display the system date and time. You can also set a custom date by typing the below command in your terminal.
Syntax – “date –set=’2 Apr 2018 16:10′

2. "Cal" Command –
The cal command simply displays a formatted calendar of current month in your terminal screen. If in case, you need an advanced version of cal, then you can also download ncal package in your Linux machine which displays the calendar vertically along with more options.

3. "whoami" Command –
The whoami command simply prints the effective user ID where as who command prints the information about users who are currently logged in.
You can also use the “w” command to see who is logged on and what they are doing.

4. pwd Command –
pwd stands for “Print Working Directory” which simply prints the name of the working directory or you can directly use the below command to use pwd.
Syntax – “/bin/pwd”

5. ls Command –
This command is one of the most useful command in Kali Linux that lists directory contents of files and directories. With ls command, you can easily list out all hidden files of a directory with -a attribute and for more detailed output you can use -l attribute.
Syntax: ls -al

6. cd Command –
The cd command also known as chdir (Change Directory) is a command used to change/switch the current working directory.

7. mkdir Command –
The command used for creating directories is mkdir. For example, if you want to create a directory under Desktop called yeahhub, open a terminal and type the following command:
Command: mkdir /root/Desktop/yeahhub

8. cat Command –
The cat (concatenate) command is one of the most frequently used command in Kali Linux which allows us to create single or multiple files, view contain of file, concatenate files and redirect output in terminal or files.
Generally, the cat command is used for displaying the contents of a file.

9. cp Command –
This command is used to copy files or group of files or directory which creates an exact image of a file on a disk with different file name.

10. mv Command –
The mv command moves, or renames, files and directories on your file system.

11. rm Command –
The rm (remove) command is used to delete files. When used recursively, it may be used to delete directories.
The removal process unlinks a file name in a file system from its associated data, and marks that space on the storage device as usable by future writes. In other words, when you remove a file, the data in the file isn’t changed, but it’s no longer associated with a filename.

12. uname Command –
This command prints the information about the current system. The uname command within Linux allows you to view system information about your Linux environment.
With uname -a command, which gives you more information about the system like Kernel Name, Node Name, Kernel Release, Kernel Version, Machine, Processor, Hardware Platform and Operating system.

13. uptime Command –
The uptime command gives you the time for which the system has been up (or running). Uptime’s basic usage is very easy – just write the command’s name and press enter.
In case you just want to know the time for which the system has been up, and that too in a more human-readable format, use the -p command line option.

14. users Command –
This command display login names of users currently logged in on system.

15. less Command –
less command is used to view files instead of opening the file. The less command is considered to be a more powerful version of the “more” command which is used to display information to the terminal one page at a time.
You can view any text file using the less command simply by typing the following into a terminal window:
Command: less /etc/passwd

16. more Command –
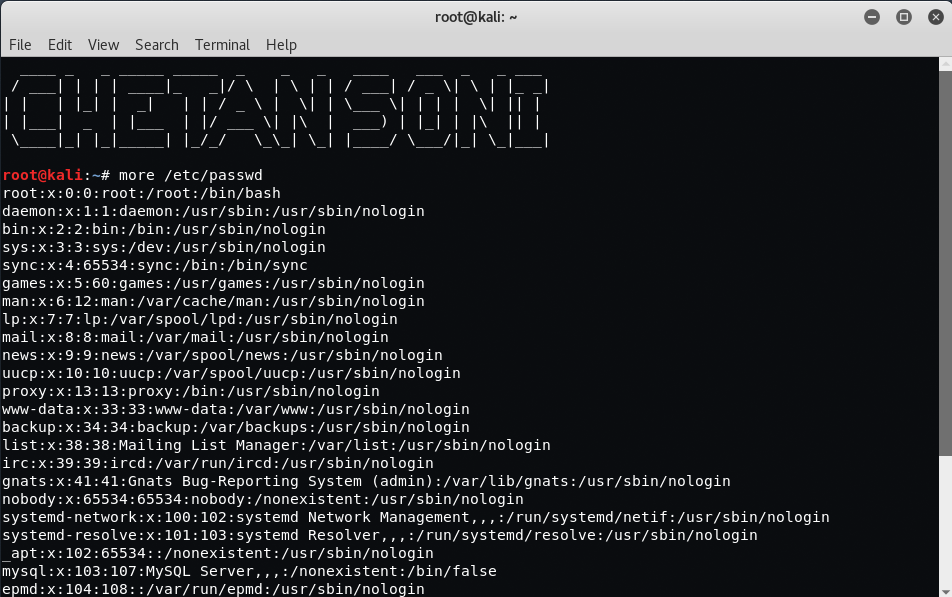
The more command allows you to display output in the terminal one page at a time. This is especially useful when running a command which causes a lot of scrolling such as the ls command or the du command.
The more command works with any application that outputs to the screen. A good way of testing this is to type the following into a terminal window:
Command: more /etc/passwd

17. sort Command –
Sort command sorts the contents of a text file, line by line. Sort is a standard command line program that print the lines of its input or concatenation of all files listed in its argument list in sorted order.
With -r switch, you can sort the contents of any file in reverse order.

18. vi Command –
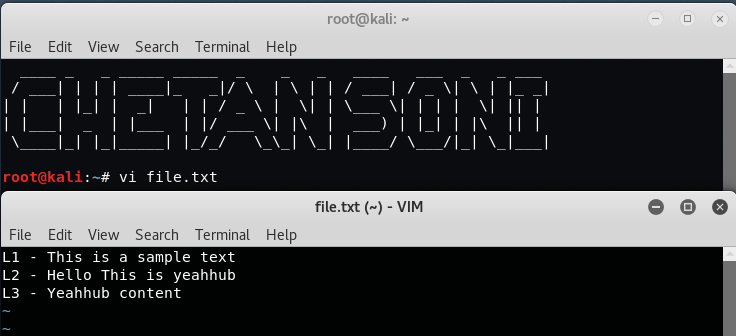
The vi editor is a screen editor which is available on almost all UNIX systems. In general, vi has two modes: the command mode and the insert mode.
To begin entering text in an empty file, you must first change from the command mode to the insert mode. To do this, type the letter i. When you start typing, anything you type will be entered into the file.
Type a few short lines and hit Return at the end of each of line. Unlike word processors, vi does not use word wrap. It will break a line at the edge of the screen. If you make a mistake, you can use the Backspace key to remove your errors. If the Backspace key doesn’t work properly on your system, try using the Ctrl h key combination.

19. free Command –
free is a command which can give us valuable information on available RAM in Linux machine. It also gives information about total used and available space of physical memory and swap memory with buffers used by kernel.
Free command with -t option, will list the total line at the end.

20. history Command –
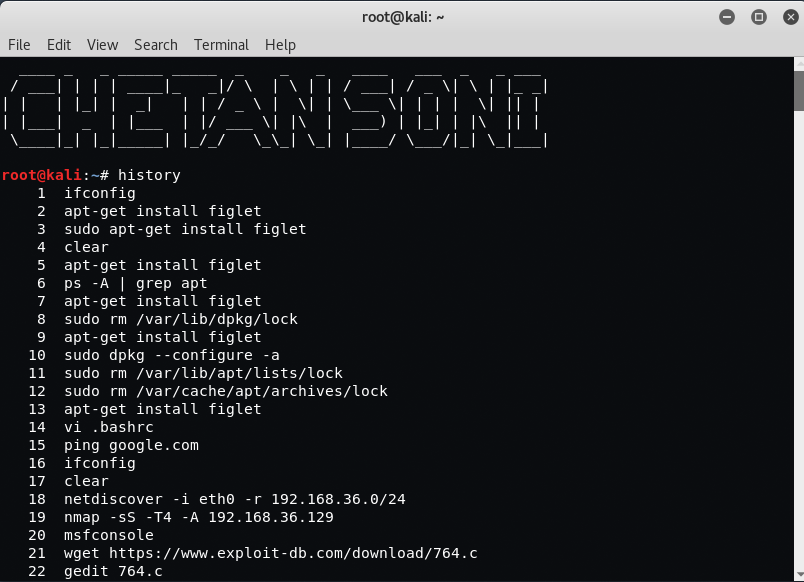
One of the extensively used command in Kali Linux is history command. The bash shell stores a history of commands entered, which can be used to repeat commands by using the history command.
In simple manner, you can run the history command by itself and will simply print out the bash history of current user to the screen as shown below:

majydahnjan@gmail.com
ReplyDelete